
Installation
General Information
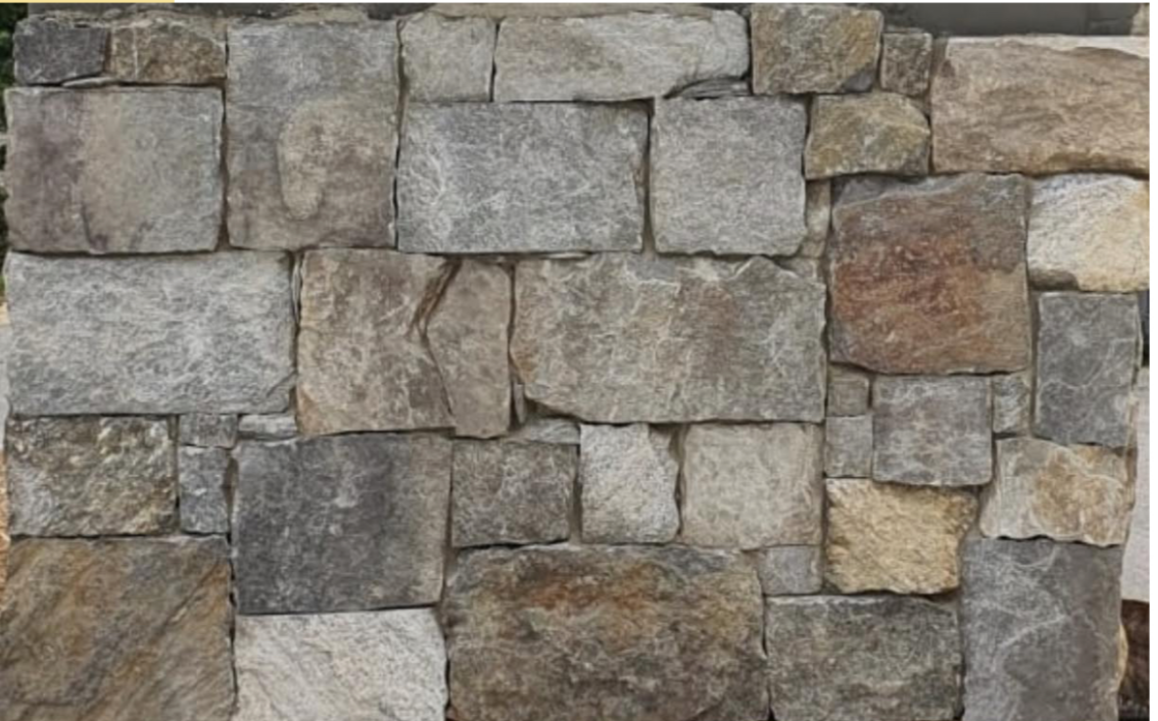
Real Stone Thin Veneer is packaged for installation with a ½” grout joint. If you’re planning a dry stack application, you’ll need additional stone to achieve full coverage. As with full stone installations, extra material should be factored in to account for:
Application patterns
Waste due to cutting, chipping, or grinding
Desired finished appearance
Weather Considerations
Do not install stone veneer if ambient temperatures are expected to drop below 40°F within 24 hours after installation. For best practices in cold weather, refer to ACI 530-05 Section 1.8C.
Installation Standards
All installations must follow:
- ACI 530.1 / ASCE 6 / TMS 602: Specifications for Masonry Structures
- All applicable local building codes
Ensure the structure receiving the veneer meets code requirements.
All installation materials
- —including sheathing, weather-resistant barriers, metal lath, fasteners, and cement
- —must also comply with local building codes.
Mortar & Bonding
- —Mix mortar using Type S Cement per ASTM C270 guidelines
- —Use a Concrete Bonding Agent as directed by the manufacturer
- —Apply the scratch coat per the PCA Plaster (Stucco) Manual and local codes
Surface Preparation
Exterior Applications:
- A weather-resistant barrier must be installed first (as required by code)
- Flashing should be installed where needed, using non-corrosive material
Concrete or Block Walls:
- Clean surfaces thoroughly
Painted or sealed surfaces must be treated to remove coatings using:
Sandblasting
Water blasting
Acid etching
Wire brushing
Note: Failure to remove previous coatings may result in poor mortar adhesion.
Cleaning & Maintenance
Never clean thin veneer stone with metal brushes or acid-based cleaners
Professional Consultation
For a successful, long-lasting installation tailored to your specific project, we strongly recommend working with a licensed contractor or structural engineer.